
The Sony PlayStation 1 remains a cornerstone of gaming history, housing a library of classics that defined genres. While original hardware is a nostalgic treasure, modern emulation has reached a point where we can experience these titles in 4K resolution with buttery-smooth frame rates. At the heart of this modern revival is DuckStation, widely regarded as the most user-friendly and powerful PS1 emulator available today.
However, even the best emulator is just a shell without its “soul”—the BIOS. In this comprehensive guide, Psbios Zone walks you through the essential steps for a perfect DuckStation PS1 BIOS setup, ensuring your journey back to the 32-bit era is seamless and authentic.
What is the PS1 BIOS and Why Is It Necessary?
The Basic Input/Output System (BIOS) is the proprietary firmware found on the PlayStation’s internal motherboard. It acts as the bridge between the hardware and the software. For an emulator like DuckStation, the BIOS provides the necessary instructions to boot games, manage memory cards, and maintain timing accuracy.
Without a properly configured BIOS, most emulators simply won’t run, or they will suffer from significant compatibility issues. By using the correct BIOS files, you ensure that DuckStation behaves exactly like a retail console, right down to the iconic orange diamond startup logo.
Step 1: Preparing Your Environment
Before diving into the software, organization is key. Emulation can become messy if files are scattered across your hard drive.
- Download DuckStation: Ensure you have the latest version of the emulator from the official GitHub repository or website.
- Create a Dedicated Folder: We recommend a folder structure like this:
Emulation/DuckStationEmulation/PS1_BIOSEmulation/PS1_Games
- Acquire Your BIOS Files: Legally, you should dump these from your own PlayStation console. The most common and compatible files include:
- SCPH-1001 (North America)
- SCPH-7003 (Asia)
- SCPH-5502 (Europe)
Step 2: The DuckStation PS1 BIOS Setup Process
Once your files are organized, it’s time to tell DuckStation where to look.
1. Launching the Emulator
Open duckstation-qt.exe. On your first launch, the program may prompt you with a setup wizard. If you’ve already skipped this, don’t worry—all settings are easily accessible via the top menu.
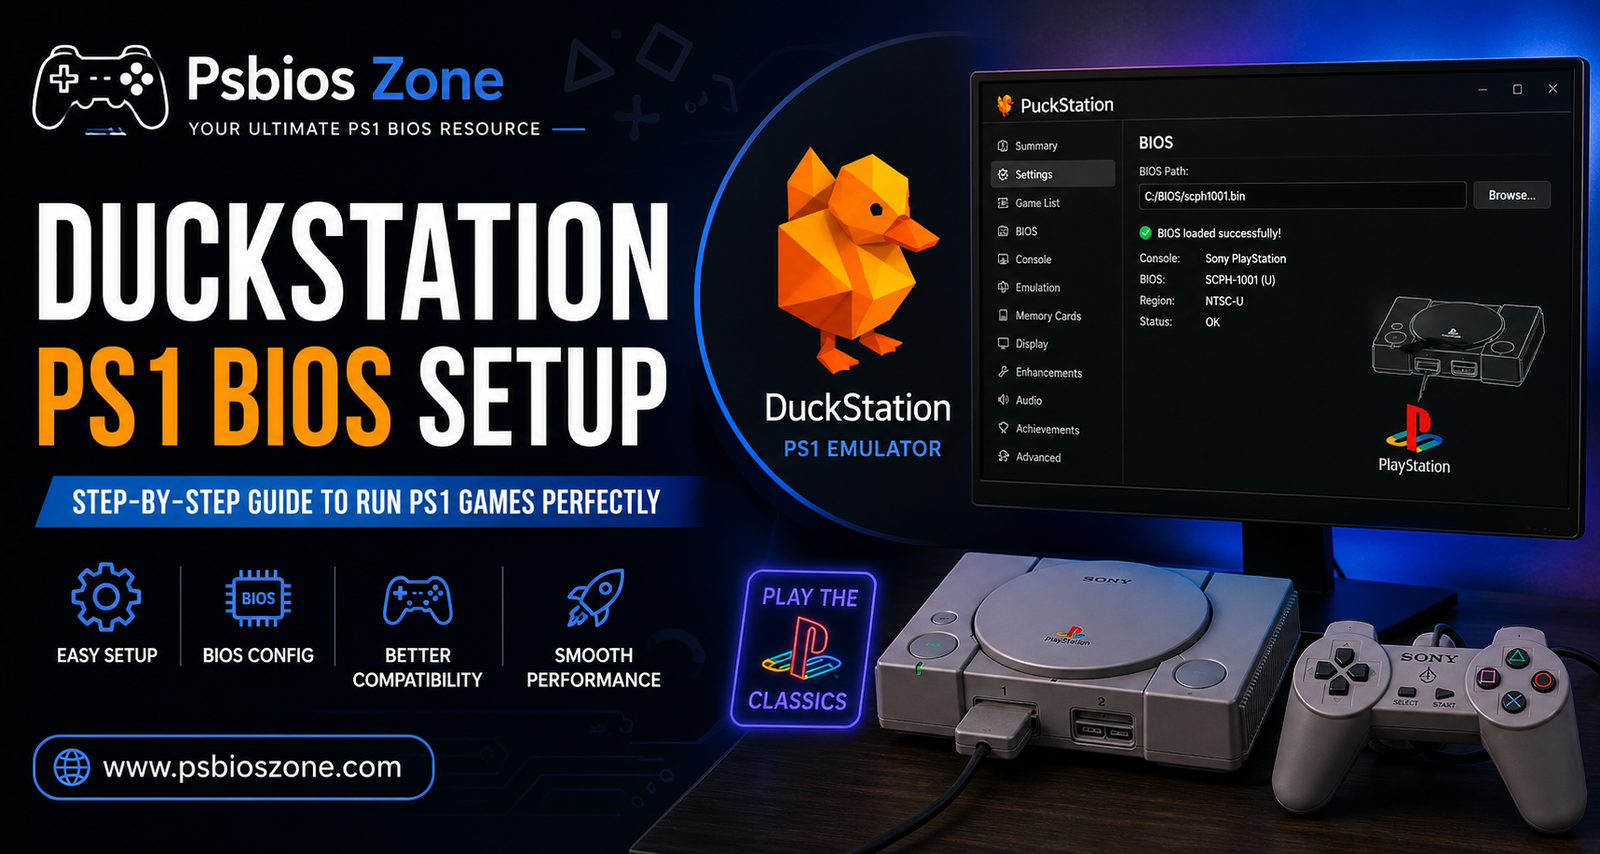
2. Locating the BIOS Settings
Navigate to Settings > BIOS. Here, you will see a field labeled “BIOS Directory.”
3. Pointing to the BIOS Folder
Click Browse and select the PS1_BIOS folder you created earlier. DuckStation is intelligent; once you point it to the folder, it will automatically scan and list all available BIOS versions found within.
4. Selecting the Default BIOS
In the “Region” dropdown menus, you can specify which BIOS to use for specific territories. However, for most users, leaving these on “Auto-Select” is the best choice. DuckStation will automatically match the BIOS region to the game file you are trying to load.
Step 3: Enhancing the Experience
A successful DuckStation PS1 BIOS setup isn’t just about making the games run; it’s about making them look and feel better than they did in 1995.
- Enable Fast Boot: If you want to skip the Sony startup animation and jump straight into the game, toggle the “Fast Boot” option in the BIOS settings. (Though at Psbios Zone, we think the startup sound is half the fun!)
- Memory Card Management: Within the same settings area, ensure your “Memory Card” path is set. This allows the BIOS to save your progress just like the original hardware.
- Internal Resolution: Once the BIOS is confirmed working, head to Enhancement Settings to scale the resolution. Modern PCs can easily handle 5x or 9x native resolution, making pixelated edges disappear.
Troubleshooting Common Issues
Even with a detailed guide, you might encounter a few hiccups. Here is how to solve them:
- “BIOS Not Found”: Double-check that your BIOS files are unzipped. DuckStation typically looks for
.bin,.rom, or.imgfiles. If they are tucked inside a.zipor.7zfile, the emulator won’t see them. - Black Screen on Launch: This usually indicates a regional mismatch or a corrupted BIOS file. Ensure your BIOS region matches the game (e.g., use SCPH-1001 for NTSC-U games).
- Controller Unresponsive: This isn’t a BIOS issue, but a common setup hurdle. Go to Settings > Controllers to map your buttons before starting your first game.
Why Choose DuckStation?
At Psbios Zone, we’ve tested dozens of emulators, and DuckStation consistently comes out on top for three reasons:
- Precision: Its “PGXP” feature corrects the “wobbly” textures and warped polygons common in original PS1 hardware.
- Performance: It runs efficiently on everything from high-end gaming rigs to modest laptops and Android devices.
- Interface: The Qt-based interface is clean, modern, and makes the DuckStation PS1 BIOS setup intuitive for beginners.
Final Thoughts
Setting up your PS1 BIOS is the final hurdle between you and a library of legendary titles like Metal Gear Solid, Final Fantasy VII, and Resident Evil. By following this guide, you’ve transformed your computer into a high-definition time machine.
For more BIOS tips, firmware updates, and emulation deep-dives, stay tuned to Psbios Zone—your home for retro gaming excellence. Happy gaming!