
If you are an avid retro gamer, you know that the transition from 2D sprites to 3D polygons was a golden era. The PlayStation 1 (PS1) sits at the heart of that nostalgia. While there are many ways to relive these classics, Lemuroid has emerged as one of the most user-friendly, all-in-one emulators for Android. However, to get that authentic startup chime and ensure maximum game compatibility, a proper Lemuroid PS1 BIOS setup is essential.
In this guide, Psbios Zone walks you through everything you need to know to get your mobile PlayStation station up and running.
What is a BIOS and Why Does Lemuroid Need It?
The BIOS (Basic Input/Output System) is the low-level software that starts the console and manages the interface between the hardware and the games. While Lemuroid includes high-level emulation (HLE) that can run some games without a BIOS, many titles will crash, show graphical glitches, or refuse to boot entirely without the original system files.
Using an official BIOS file ensures:
- Increased Compatibility: Play games that HLE struggles with.
- The Classic Boot Logo: That iconic Sony Computer Entertainment screen.
- Save Stability: Better handling of virtual memory cards.
Step 1: Acquiring the Correct BIOS Files
To complete your Lemuroid PS1 BIOS setup, you need specific files. While there are many versions of the PS1 hardware (Japanese, American, and European), the most commonly used and stable files are:
- SCPH5501.BIN (Recommended for North American/NTSC-U games)
- SCPH5500.BIN (Required for Japanese/NTSC-J games)
- SCPH5502.BIN (Required for European/PAL games)
Note from Psbios Zone: Ensure your files are named exactly as shown above, in lowercase or uppercase as per the emulator’s requirement (usually lowercase works best), and ending in the
.binextension.
Step 2: Organizing Your Directory
Lemuroid is designed to be tidy. It scans your storage for specific folders to find your games and system files. Before opening the app, we recommend setting up a dedicated “Retro Gaming” folder on your phone’s internal storage or SD card.
- Create a folder named RetroGames.
- Inside that folder, create a subfolder named BIOS.
- Place your
scph5501.bin(and others) inside this BIOS folder.
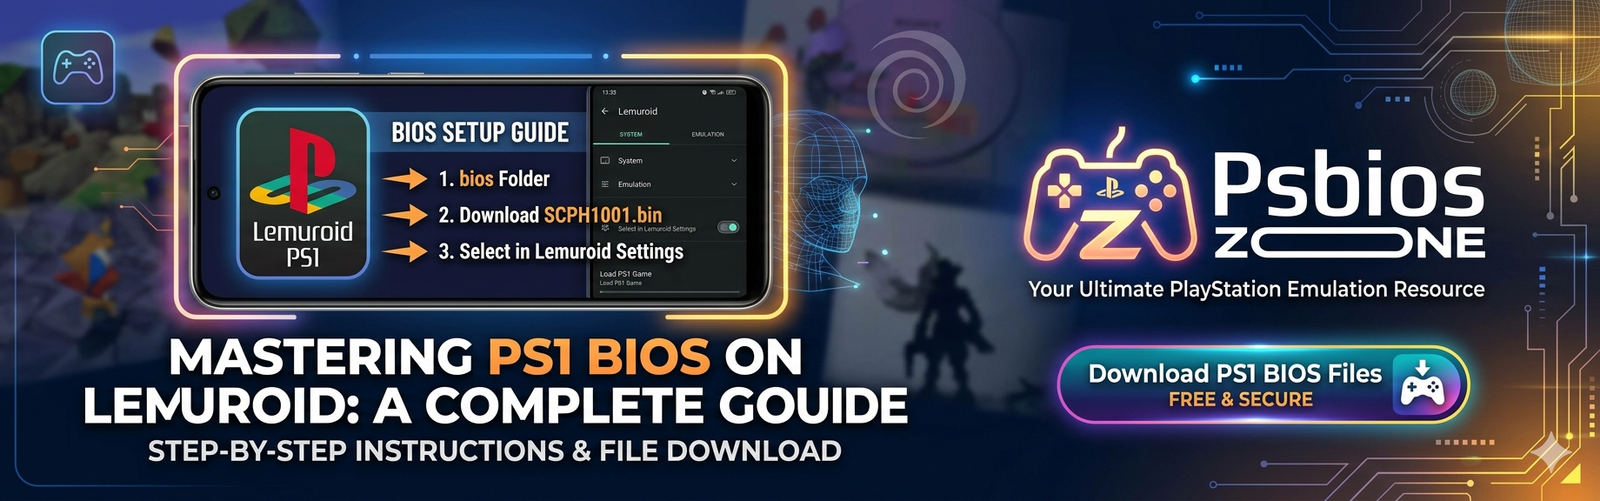
Step 3: Configuring Lemuroid PS1 BIOS Setup
Now that your files are ready, it is time to point Lemuroid in the right direction.
- Open Lemuroid on your Android device.
- Upon first launch, the app will ask you to Select a Folder. Navigate to your “RetroGames” folder and grant access.
- Tap the Settings (gear icon) in the bottom right corner.
- Look for the System Files (BIOS) section.
- Lemuroid usually auto-scans, but if it shows “Missing” for PlayStation, tap on Change BIOS Directory and select the specific folder where you placed the
.binfiles. - Once selected, Lemuroid will scan the files. If successful, the status will change to “Found” or “OK.”
Step 4: Preparing Your Game ROMs
A BIOS setup is nothing without games. PS1 games usually come in .bin and .cue formats or .chd (highly recommended for saving space).
- Pro Tip: Keep each game in its own subfolder within your “RetroGames” directory. This prevents
.binfiles from different games getting mixed up. - Refresh Library: In Lemuroid, go to settings and tap Rescan Library if your games don’t appear immediately on the home screen.
Troubleshooting Common Issues
Even with a guide from Psbios Zone, you might hit a snag. Here are the most common fixes for Lemuroid PS1 BIOS issues:
1. BIOS Not Detected
If Lemuroid says the BIOS is missing despite you putting it in the folder, check the MD5 Hash. Emulators look for specific versions of the BIOS. If your file is renamed but is actually a different version (like a PS2 BIOS renamed to PS1), it won’t work.
2. Black Screen on Launch
This often happens if you have the BIOS but the ROM file is corrupted. Ensure you have the .cue file present if you are using .bin files; the .cue file tells the emulator how to read the data tracks.
3. Audio Stuttering
Lemuroid is efficient, but if you have a budget device, try disabling “Fast Forward” or “Rewind” features in the settings to free up CPU cycles for the PS1 core.
Why Choose Lemuroid?
At Psbios Zone, we often get asked why Lemuroid is preferred over other emulators like DuckStation or ePSXe. The answer is simplicity. Lemuroid uses “Libretro” cores, meaning it handles the technical heavy lifting behind a clean, modern interface. It’s perfect for users who want to play games rather than spend hours menu-diving.
Final Thoughts
The Lemuroid PS1 BIOS setup is the bridge between a buggy experience and a perfect trip down memory lane. By following these steps and ensuring your files are sourced and named correctly, you’ll be playing Final Fantasy VII, Metal Gear Solid, or Crash Bandicoot in minutes.
For all your BIOS information and emulation tips, keep it locked to Psbios Zone—your home for retro gaming excellence.