
If you’re trying to play your favorite classic PlayStation 1 (PS1) games on your Windows PC using DuckStation, you’ll need one essential component — the PS1 BIOS. Without it, many games won’t load or function correctly. In this detailed guide, we’ll walk you through how to install PS1 BIOS in DuckStation on Windows, explain why it’s important, and provide you with a trusted download source via Psbios Zone.
What Is a PS1 BIOS and Why You Need It
The PS1 BIOS, short for Basic Input/Output System, is a critical firmware file from the original PlayStation console. It contains the low-level system instructions that the PS1 used to boot games, check memory cards, and run other essential operations.
When you emulate a PS1 console using DuckStation, the emulator replicates the console’s hardware. However, for full compatibility and authentic performance, DuckStation often needs a real BIOS file. Without a valid BIOS, some games may crash, show graphical glitches, or fail to load entirely.
There are several BIOS versions available, such as:
- SCPH1001.BIN – USA (NTSC-U)
- SCPH5502.BIN – Europe (PAL)
- SCPH7003.BIN – Japan (NTSC-J)
Having the correct BIOS ensures smooth and accurate gameplay, matching the performance of the original PS1 console.
Important note: You should only use BIOS files legally obtained from your own PlayStation console. Downloading copyrighted BIOS files without ownership of the original console may violate copyright laws.
What You’ll Need
Before you start installing the BIOS, make sure you have the following:
- A Windows 10 or 11 PC capable of running DuckStation smoothly.
- The latest version of DuckStation, available from its official website.
- The PS1 BIOS file, which you can safely obtain from Psbios Zone.
- Optional: Your PS1 game files (ISO, BIN/CUE, or CHD formats).
Once you have these ready, you can proceed to install the BIOS into DuckStation.
Step-by-Step Guide: How to Install PS1 BIOS in DuckStation (Windows)
Step 1: Download the PS1 BIOS
Start by visiting Psbios Zone to download the PS1 BIOS file.
You’ll find versions such as SCPH1001.BIN, SCPH5502.BIN, and others. The file size is usually around 512 KB.
If the file is compressed (e.g., ZIP or RAR), right-click it and select Extract Here using a program like WinRAR or 7-Zip. After extraction, you should see a .BIN file — that’s your PS1 BIOS.
Step 2: Install or Extract DuckStation
If you haven’t installed DuckStation yet, download it from the official DuckStation website.
DuckStation is lightweight and doesn’t require complex installation — you can simply extract the ZIP folder to your preferred directory, such as:
C:\Users\YourName\Documents\DuckStation\
Run DuckStation once to allow it to create default folders like bios, savestates, and screenshots.
Step 3: Locate or Create the BIOS Folder
Inside your DuckStation directory, look for a folder named bios.
The default path usually looks like this:
Documents\DuckStation\bios
If the folder doesn’t exist, create a new folder and name it bios. This is where you’ll place your BIOS file.
Step 4: Copy the BIOS File into the Folder
Move or copy your downloaded BIOS file (SCPH1001.BIN, for example) into the bios folder you just located or created.
Ensure the file name and extension remain unchanged. Misnaming the BIOS file (like adding spaces or removing the .BIN extension) can cause DuckStation to not detect it properly.
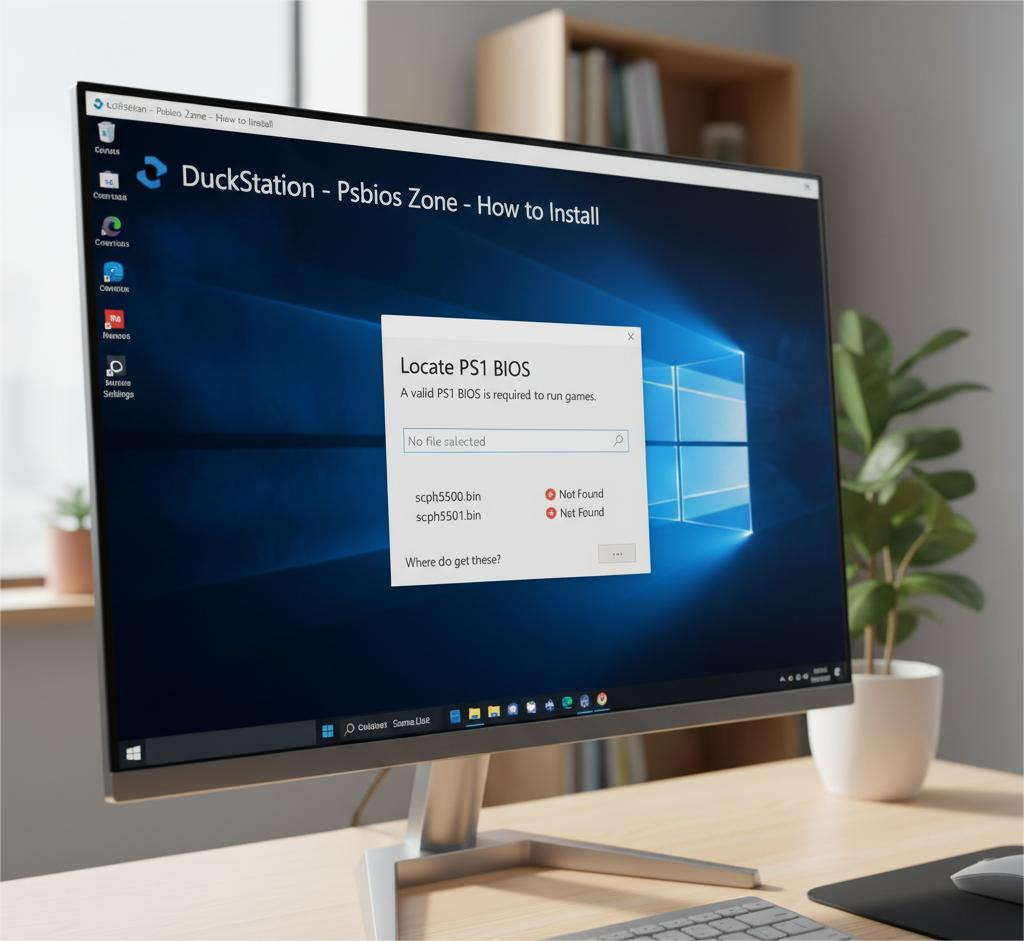
Step 5: Configure the BIOS Path in DuckStation
- Open DuckStation.
- Go to Settings → BIOS or Settings → Console Settings.
- Under the BIOS configuration section, click Browse and select your bios folder path.
- DuckStation will automatically scan and list available BIOS files.
- Select the correct BIOS version (for example, SCPH1001.BIN for US games).
If DuckStation detects your BIOS successfully, you’re all set. You’ll see a confirmation message or the BIOS file name under the “Detected BIOS” section.
Step 6: Add Your Game Directory (Optional)
Although not required to install the BIOS, adding your game folder makes things easier.
- Go to Settings → Game List Settings.
- Add the folder where your PS1 games are stored.
- Click Scan to load all your games into DuckStation’s interface.
Now, your games should appear with titles and cover art (if available).
Step 7: Launch a Game and Test
Finally, double-click any game from your DuckStation list or select File → Boot Disc Image and browse to your game file.
If the game boots and runs smoothly, congratulations! Your PS1 BIOS is properly installed.
If you receive an error like “Missing BIOS” or “No BIOS found,” double-check:
- That the BIOS file is in the correct folder.
- The file is not corrupted and ends with .BIN.
- The BIOS directory in settings points to the right location.
Troubleshooting Tips
Here are some common problems and quick fixes:
- DuckStation can’t find the BIOS – Ensure the BIOS folder path is correct and the file name is accurate.
- Game not booting – You might be using a different region BIOS than the game requires. Try switching to another BIOS version.
- Black screen or crash – Update DuckStation to the latest version and recheck BIOS integrity.
- DLL or missing file error – Install the latest Microsoft Visual C++ Redistributable package.
Extra Recommendations
- Multiple BIOS Versions: You can store multiple BIOS files (for USA, Europe, Japan) in the same folder. DuckStation can automatically select the right one based on your game’s region.
- Enhanced Graphics: Once BIOS is working, explore DuckStation’s enhancement settings such as 4x resolution scaling, PGXP correction, and texture filtering for better visuals.
- Save States: Use DuckStation’s quick-save feature to save your progress anytime, just like modern games.
Conclusion
Installing the PS1 BIOS in DuckStation on Windows is a straightforward process, but it’s an essential step for smooth, authentic PlayStation emulation. Once you’ve downloaded the correct BIOS from Psbios Zone and configured it properly, you’ll be able to enjoy your favorite PS1 classics with improved graphics, performance, and reliability.
With DuckStation and the right BIOS setup, reliving the golden age of PlayStation gaming has never been easier. Set up your BIOS, load your favorite titles, and experience nostalgia at its best — right from your Windows PC.